Currywurst!

Herta Heuwer is attributed with the invention of Currywurst when she obtained some ketchup, Worcestshire and curry powder from British soldiers just after WWII… it’s a staple on menus all over Berlin, so I found a recipe in German cookbook and translated it. Yale and I might have to try this out when I get home:

A spicy Currywurst Sauce that can be used for all types of dishes

2 large red or yellow onions chopped very finely
2 × 400 gm can of tomatoes with juice
250 ml ketchup
1 tablespoon mustard
2 tablespoons sugar
4 tablespoons Worcestershire sauce
1 tablespoon paprika powder
2 tablespoons curry powder
1/2 teaspoon chili powder salt and pepper to taste
1 tablespoon oil

Warm oil over medium heat
Add the onions to pan and cook over medium heat until soft, 8 to 10 minutes
Add curry powder, paprika powder, chili powder and continue to cook while stirring, for 1 to 2 minutes
Add tomatoes and juice to pan, crush thoroughly and stir through
Stirring add ketchup, Worcestershire sauce, sugar, mustard, salt and pepper to taste
Bring to boil and lower to simmer, stirring occasionally until thickened. 20-25 minutes.
Puree mixture in blender and strain through a sieve.
The recipe makes at least 500 ml of sauce.
Grill some sausages, slice and cover with warm sauce.
Add to the sauce covered sausage you can add some additional Paprika powder, Salt, Pepper, Chili Powder, Curry Powder, Mustard, or finely chopped onion, to taste.

Serve with Fritten, or on a bun*

Guten Appetit!

* Quite a lot of places seem to serve their Currywurst with Asian fried shallots on top – Icelandic hotdog style!

Recipe – Lemon Squares

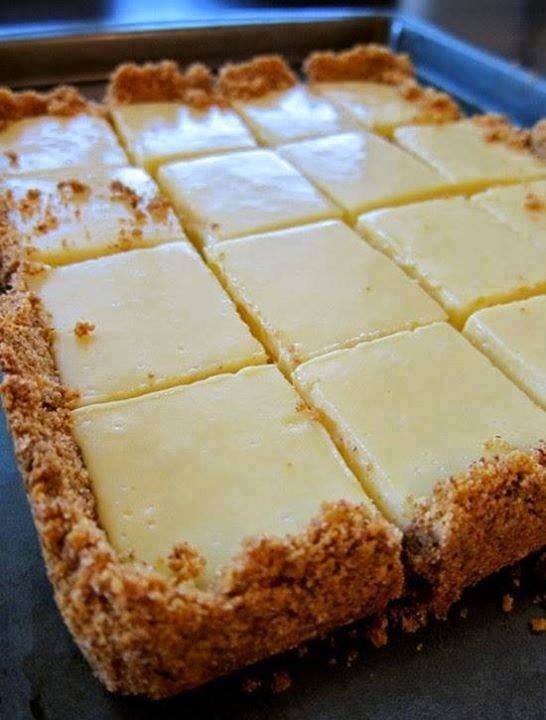
I’m not one for sweets so when I stumble upon something sweet that has a high probability of not being sickly sweet – I always want to try it.  So, saw this recipe for Lemon Squares and thought, ‘yep, that looks like a bit of me’.  Will report back once I’ve had a chance to try it.  In the meantime, I’m saving it here to find it easily.

lemon squares

CREAMY LEMON SQUARES

INGREDIENTS:

FOR THE CRUST
4 tablespoons butter, melted and cooled, plus more for pan
1-1/2 cup digestive biscuits, crumbed
1/4 cup sugar

FOR THE FILLING
2 large egg yolks
1 can (14 ounces) sweetened condensed milk
1/2 cup fresh lemon juice (3 lemons)

DIRECTIONS:
*Preheat oven to 350F / 180C degrees.
*Brush a square baking dish with melted butter.
*Crush biscuits
*Then add in sugar and butter and blend to mix.
*Press mixture into bottom of prepared pan.
*Bake until lightly browned, 8 to 12 minutes.
*Cool crust, 30 minutes.

TO MAKE THE FILLING
*In a large bowl, whisk together egg yolks and condensed milk.
*Add lemon juice; whisk until smooth.
*Pour filling into cooled crust; carefully spread to edges.
*Bake until set, about 15 minutes.
*Cool in pan on rack.
*Chill at least 1 hour before serving.
Serve with whipped cream.

(via Mum’s Mag on FB)

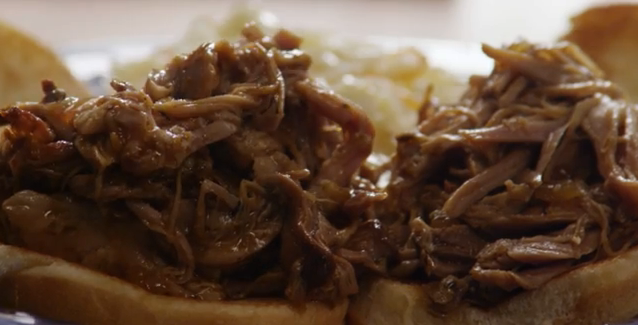
Favourite Texas Pulled Pork

teaspoon vegetable oil
1 cup barbeque sauce
1/2 cup apple cider vinegar
1/2 cup chicken broth
1/4 cup light brown sugar
1 tablespoon prepared yellow mustard
1 tablespoon Worcestershire sauce
1 tablespoon chilli powder
1 extra large onion, chopped
2 large cloves garlic, crushed
1 1/2 teaspoons dried thyme
8 hamburger buns, split
2 tablespoons butter, or as needed
1 teaspoon of liquid smoke*

  1. Pour the vegetable oil into the bottom of a slow cooker. Place the pork roast into the slow cooker; pour in the barbecue sauce, apple cider vinegar, and chicken broth. Stir in the brown sugar, yellow mustard, Worcestershire sauce, chili powder, onion, garlic, and thyme. Cover and cook on High until the roast shreds easily with a fork, 5 to 6 hours.
  2. Remove the roast from the slow cooker, and shred the meat using two forks. Return the shredded pork to the slow cooker, and stir the meat into the juices.
  3. Spread the inside of both halves of hamburger buns with butter. Toast the buns, butter side down, in a skillet over medium heat until golden brown. Spoon pork into the toasted buns.

texas slow cooker pulled pork*add liquid smoke if you want, it’s not necessary… and don’t tell Mr K, I’ll end up divorced!

Recipe – Indian curried Chicken on Rice

chicken

1kg chicken thigh cutlets, skin removed
2 tablespoons mild Indian curry paste (see note)
1 tablespoon vegetable oil
1 brown onion, chopped
1 1/4 cups SunRice White Long Grain Rice
1/3 cup sultanas
1 granny smith apple, cut into 2cm pieces
1 medium tomato, cut into 1cm pieces
2 1/2 cups chicken stock
Fresh coriander leaves and plain
Natural yoghurt, to serve

Step 1
Preheat oven to 220°C/200°C fan-forced. Place chicken and curry paste in a large glass or ceramic bowl. Stir to coat chicken.

Step 2
Heat oil in a large frying pan over medium-high heat. Cook chicken, in batches, turning, for 4 minutes or until golden. Transfer to a plate.

Step 3
Add onion to pan. Cook, stirring, for 2 to 3 minutes or until softened. Add rice. Stir for 1 to 2 minutes or until rice is coated. Stir in sultanas, apple and tomato. Transfer mixture to a 10 cupcapacity, 25cm (base) round ovenproof dish. Arrange chicken over rice, pressing down gently. Pour over stock. Cover tightly with foil. Bake for 45 to 50 minutes or until rice is tender and chicken cooked through.

Step 4
Top with coriander. Serve with yoghurt.

On second thoughts, fuck off with that coriander shit – no one likes it.

From the Chef: Oysters Kilpatrick

Had an unnatural urge for Oysters Kilpatrick yesterday, probably something to do with going to the local tavern for dinner recently and seeing them on the menu, but not being even remotely prepared to pay $26 a dozen, for what was inevitably bound to be disappointing Oysters Kilpatrick.

Yes.  Disappointing.  You see, once upon a time I dated a lovely young man whose father was a chef and that there was a family who know’d how to make fantastic Oysters Kilpatrick… and every single time I have ever ordered in a restaurant (I don’t care how swanky the place is or how nice their flatware) they’re just plain disappointing somehow.  So, I’m stuck making them myself.  Which I do every year or so to the Corrie family secret recipe…

Here’s what you’re going to need:

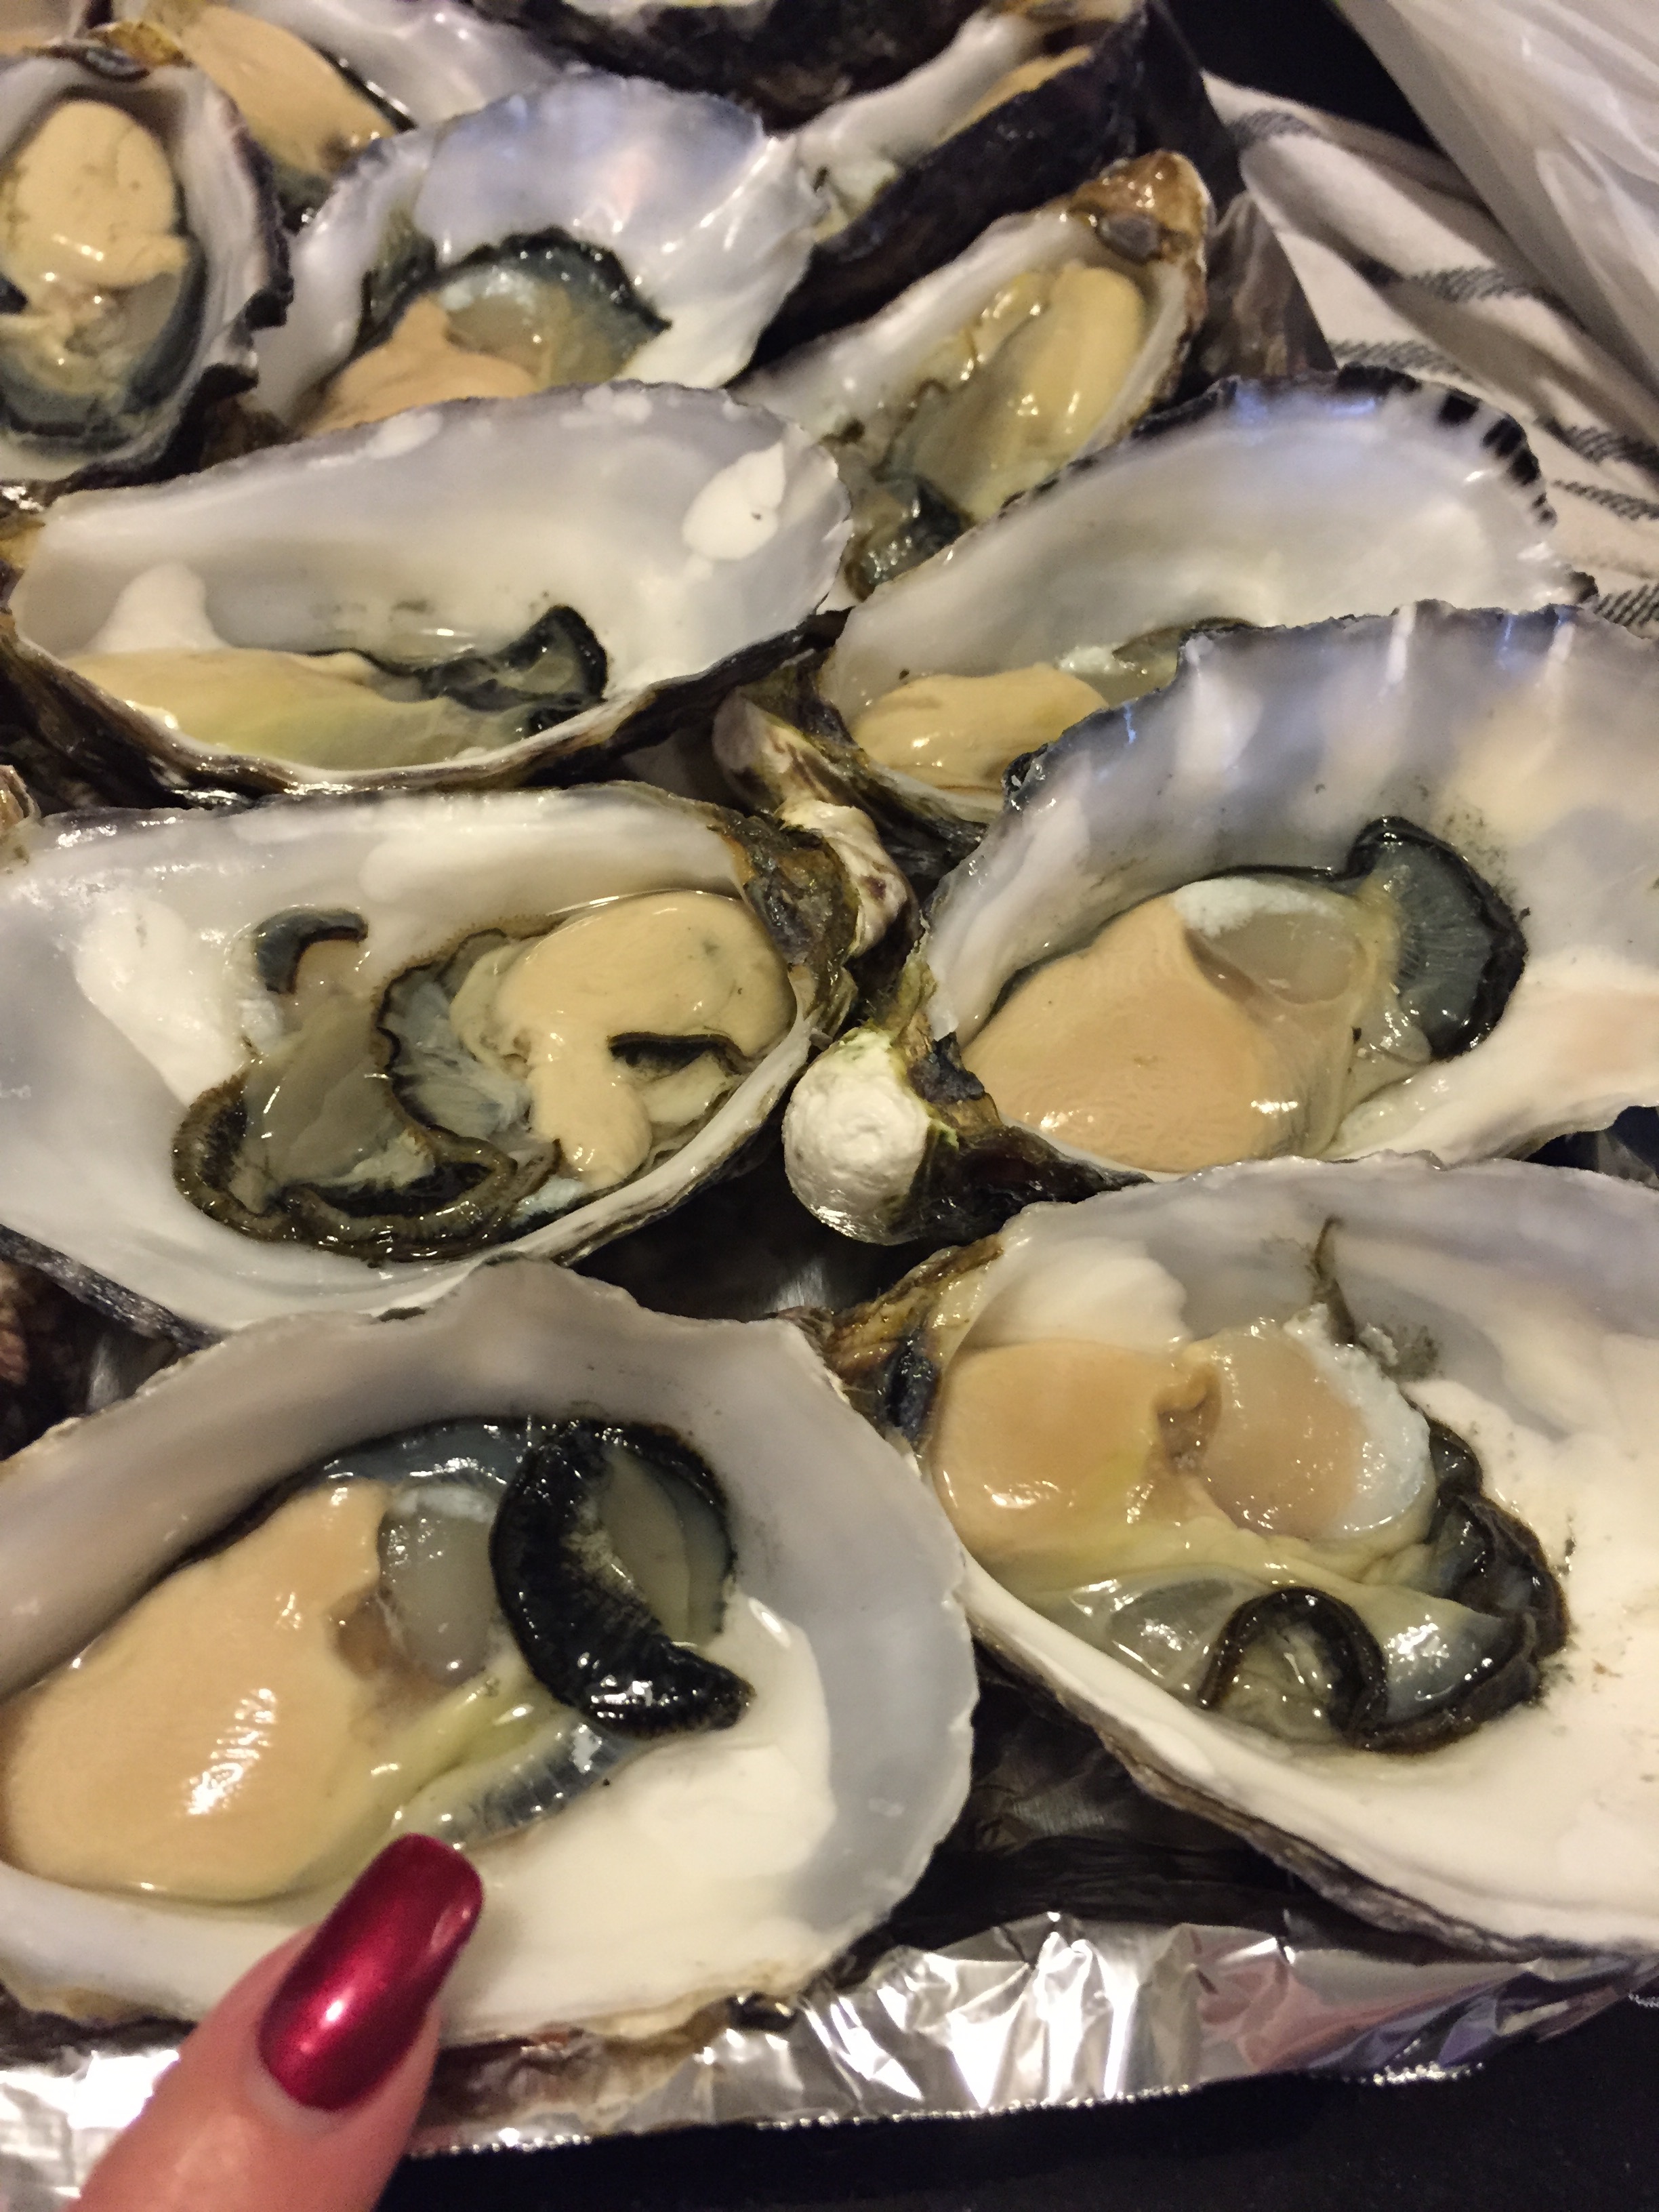
Two dozen Coffin Bay or Sydney Rock oysters – the bigger the better!
Shortcut BACON – lots of it.
BBQ sauce – you can be as fussy or as dodgy with this as you want.
Tomato ketchup – fuck off that nasty tomato sauce stuff though.
Worcestershire sauce – the older the better.
Cream of Horseradish – this is the secret ingredient (don’t tell anyone!).
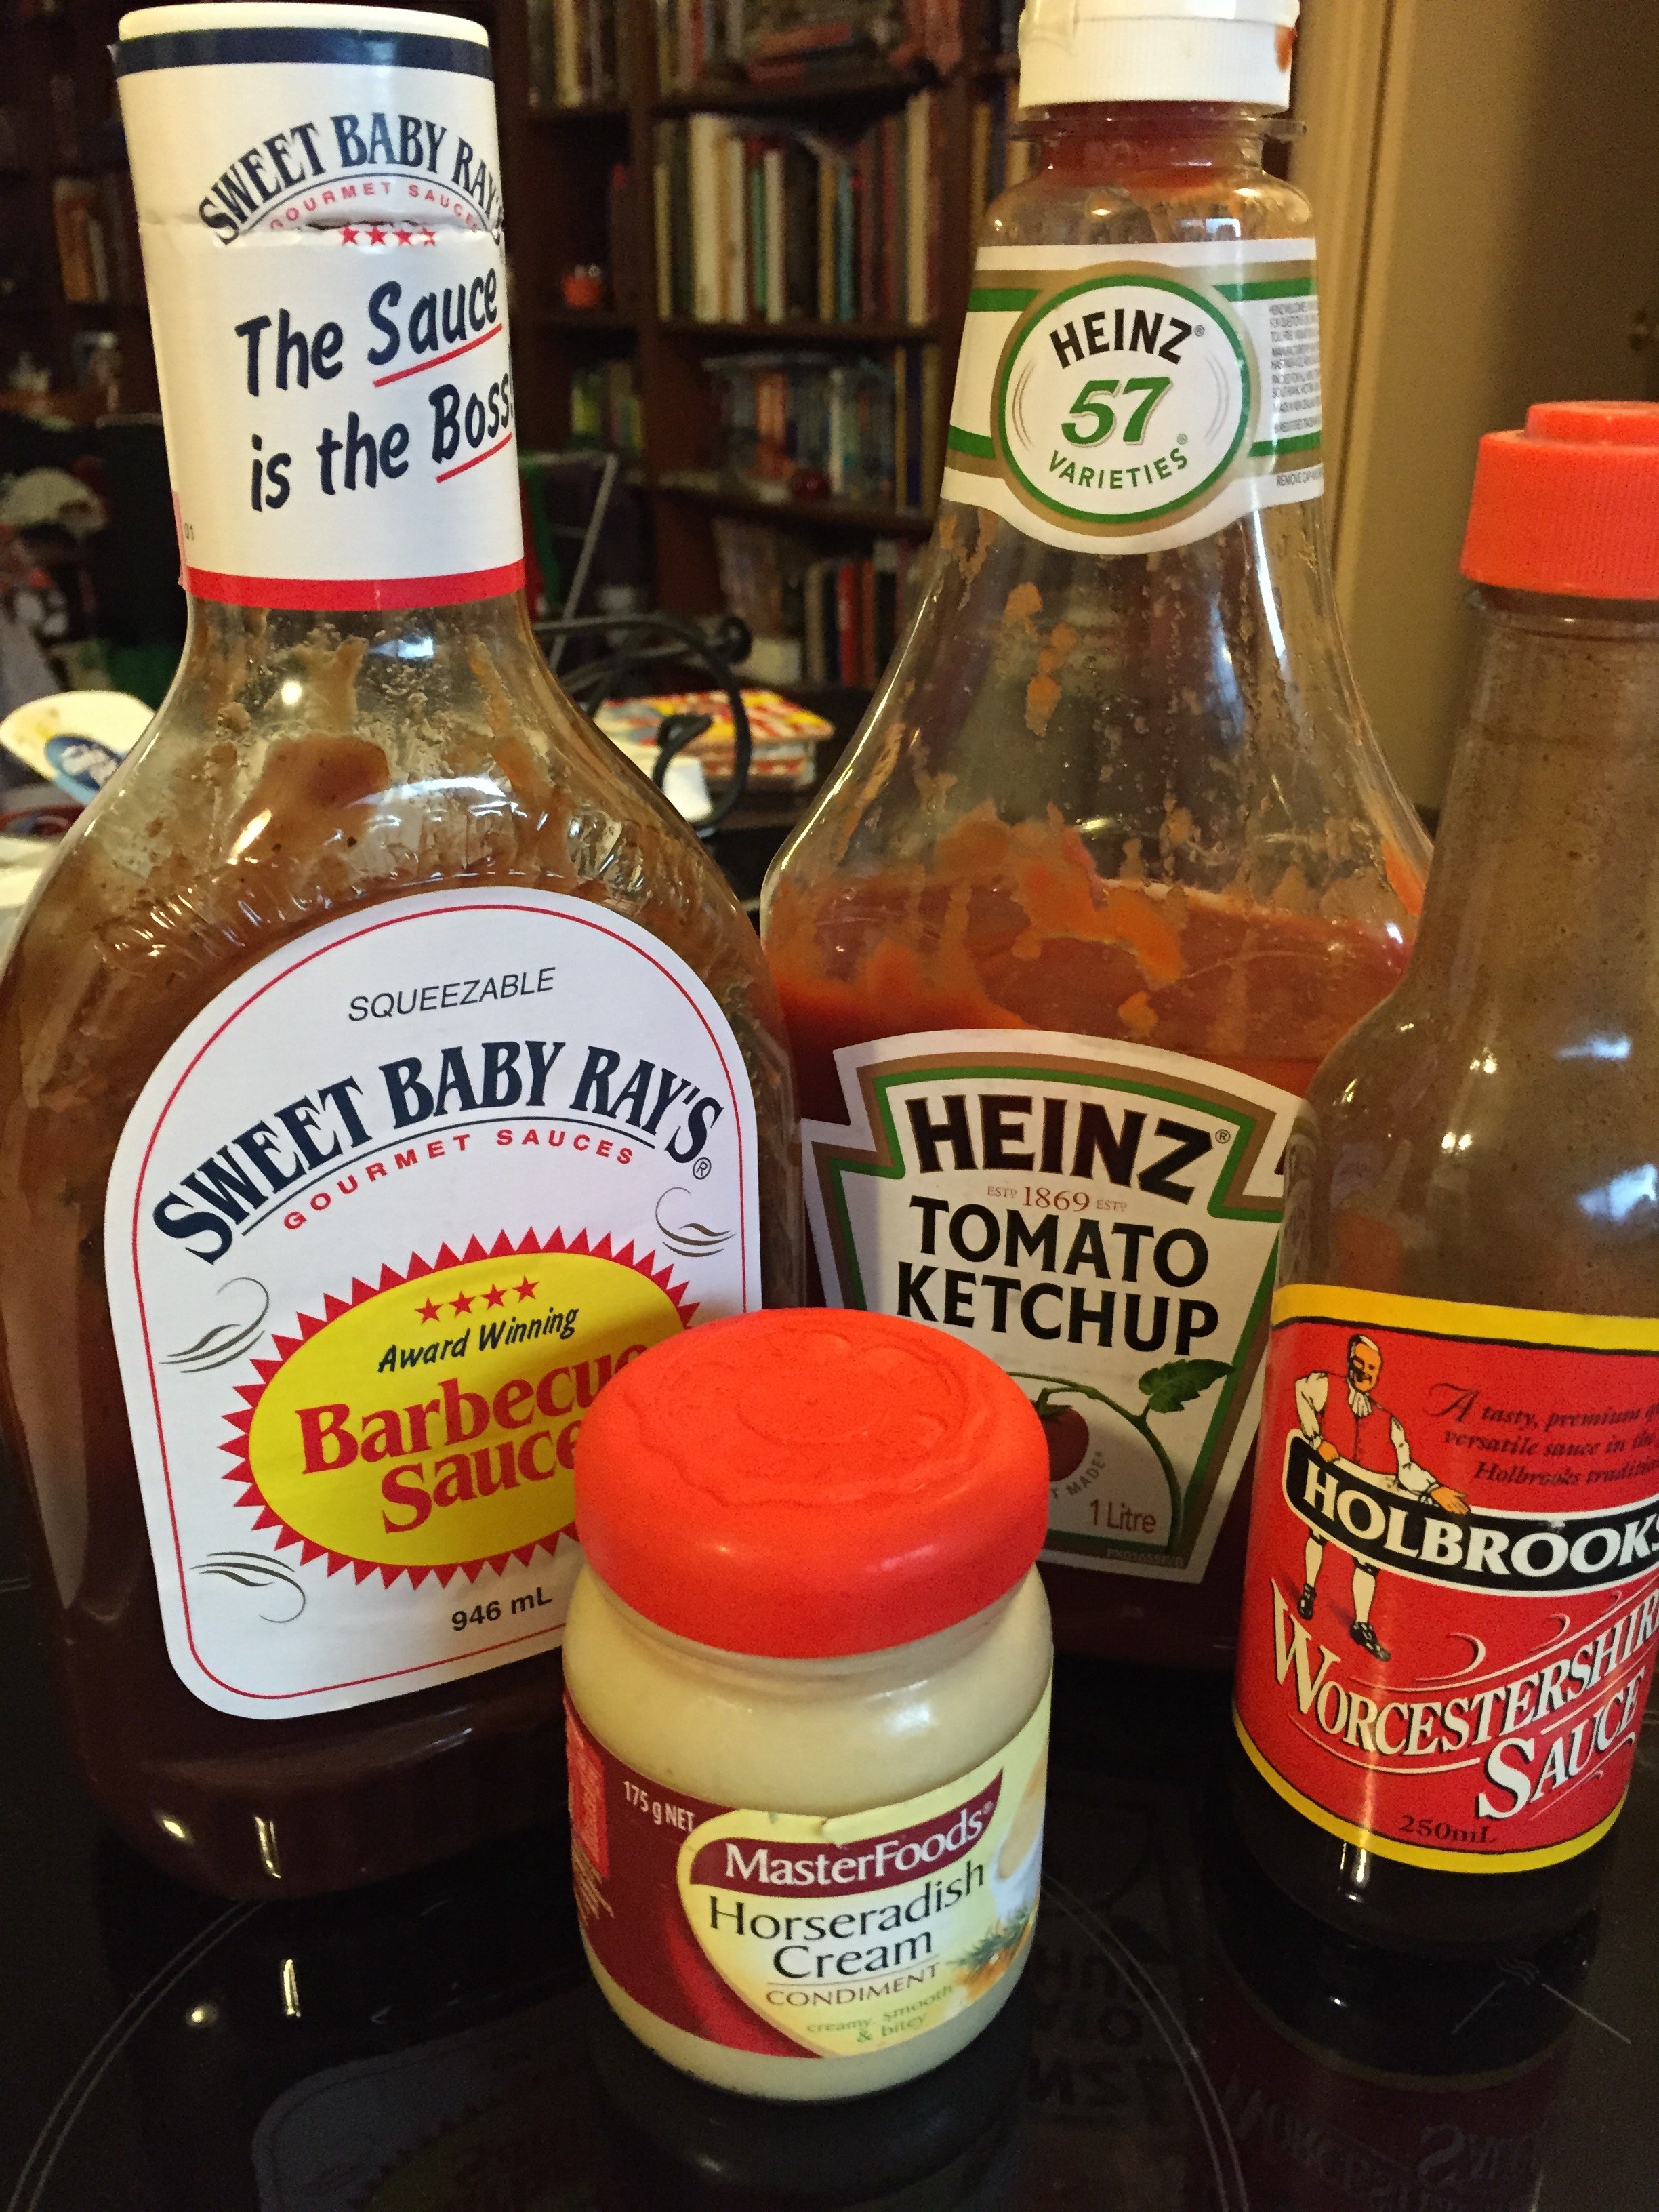
IMG_5125
Here’s what you’ve gotta do:

Step 1:
Take your shortcut bacon and trim any extra fat off it – because we don’t need the extra heart attack to go with our high fructose BBQ sauce.  Slice it up fine, until it looks almost shredded and then throw a couple of rough cuts to make the pieces about an inch long. Chuck that shit in a mixing bowl.
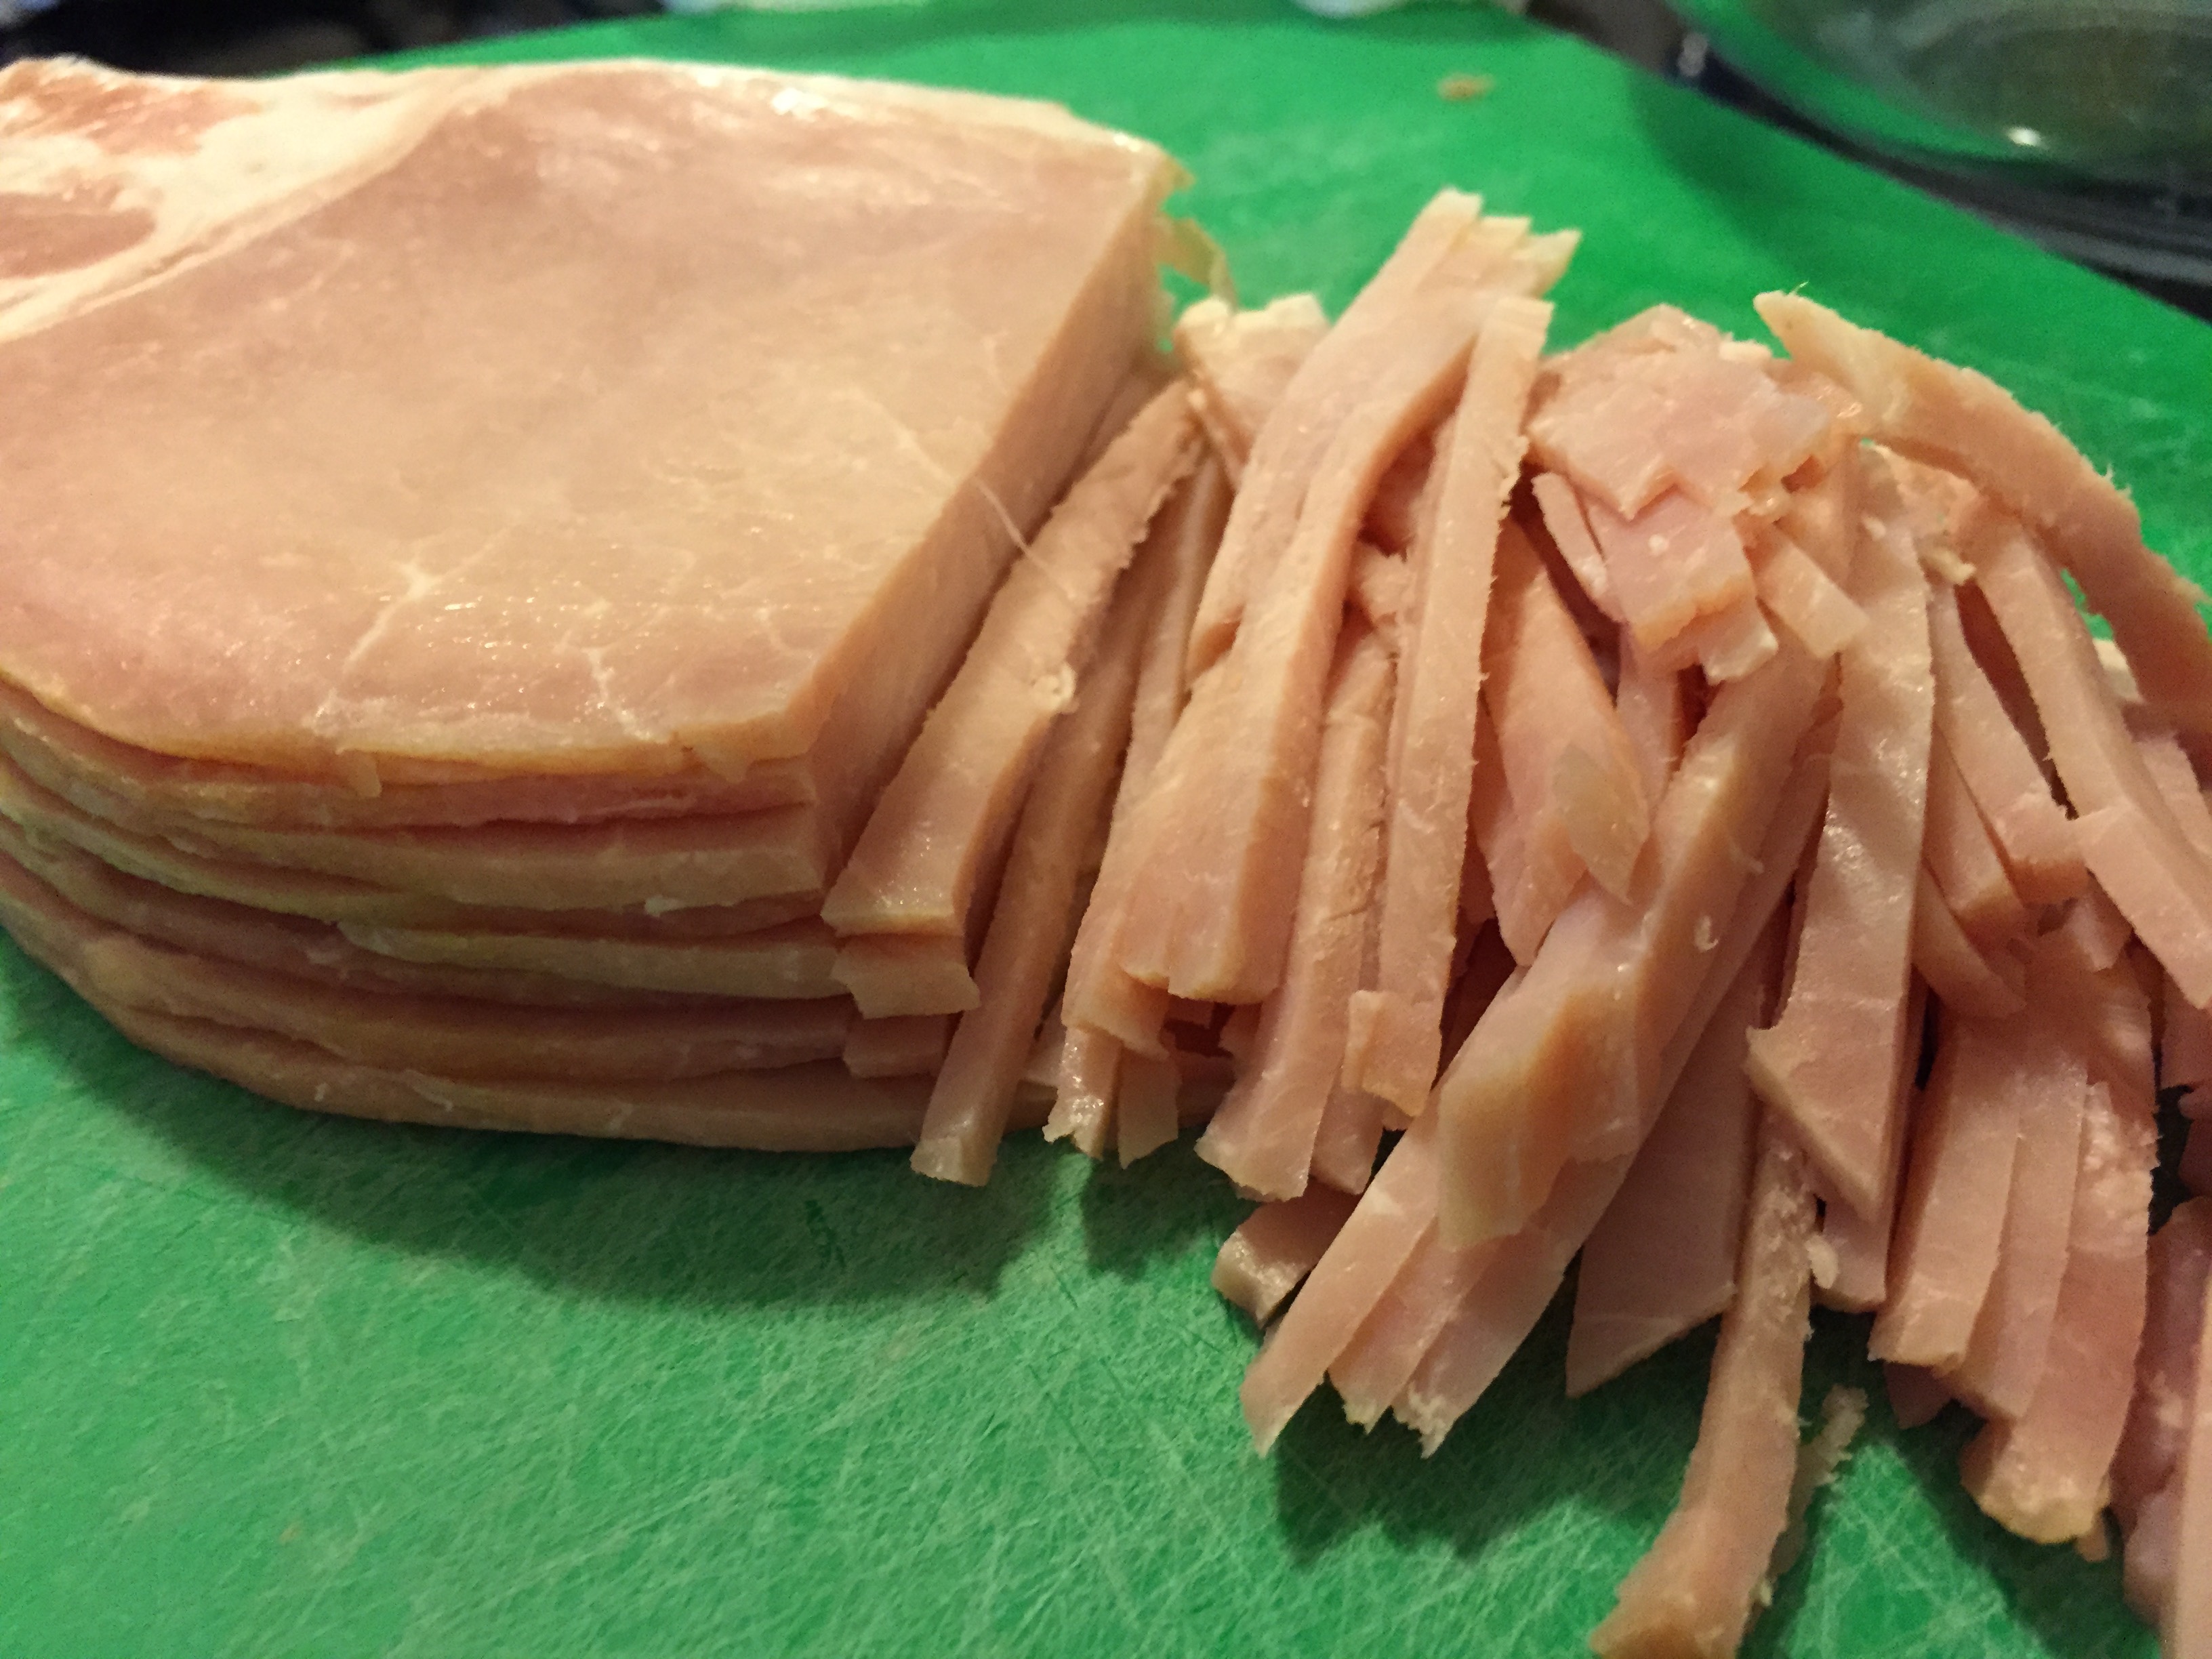
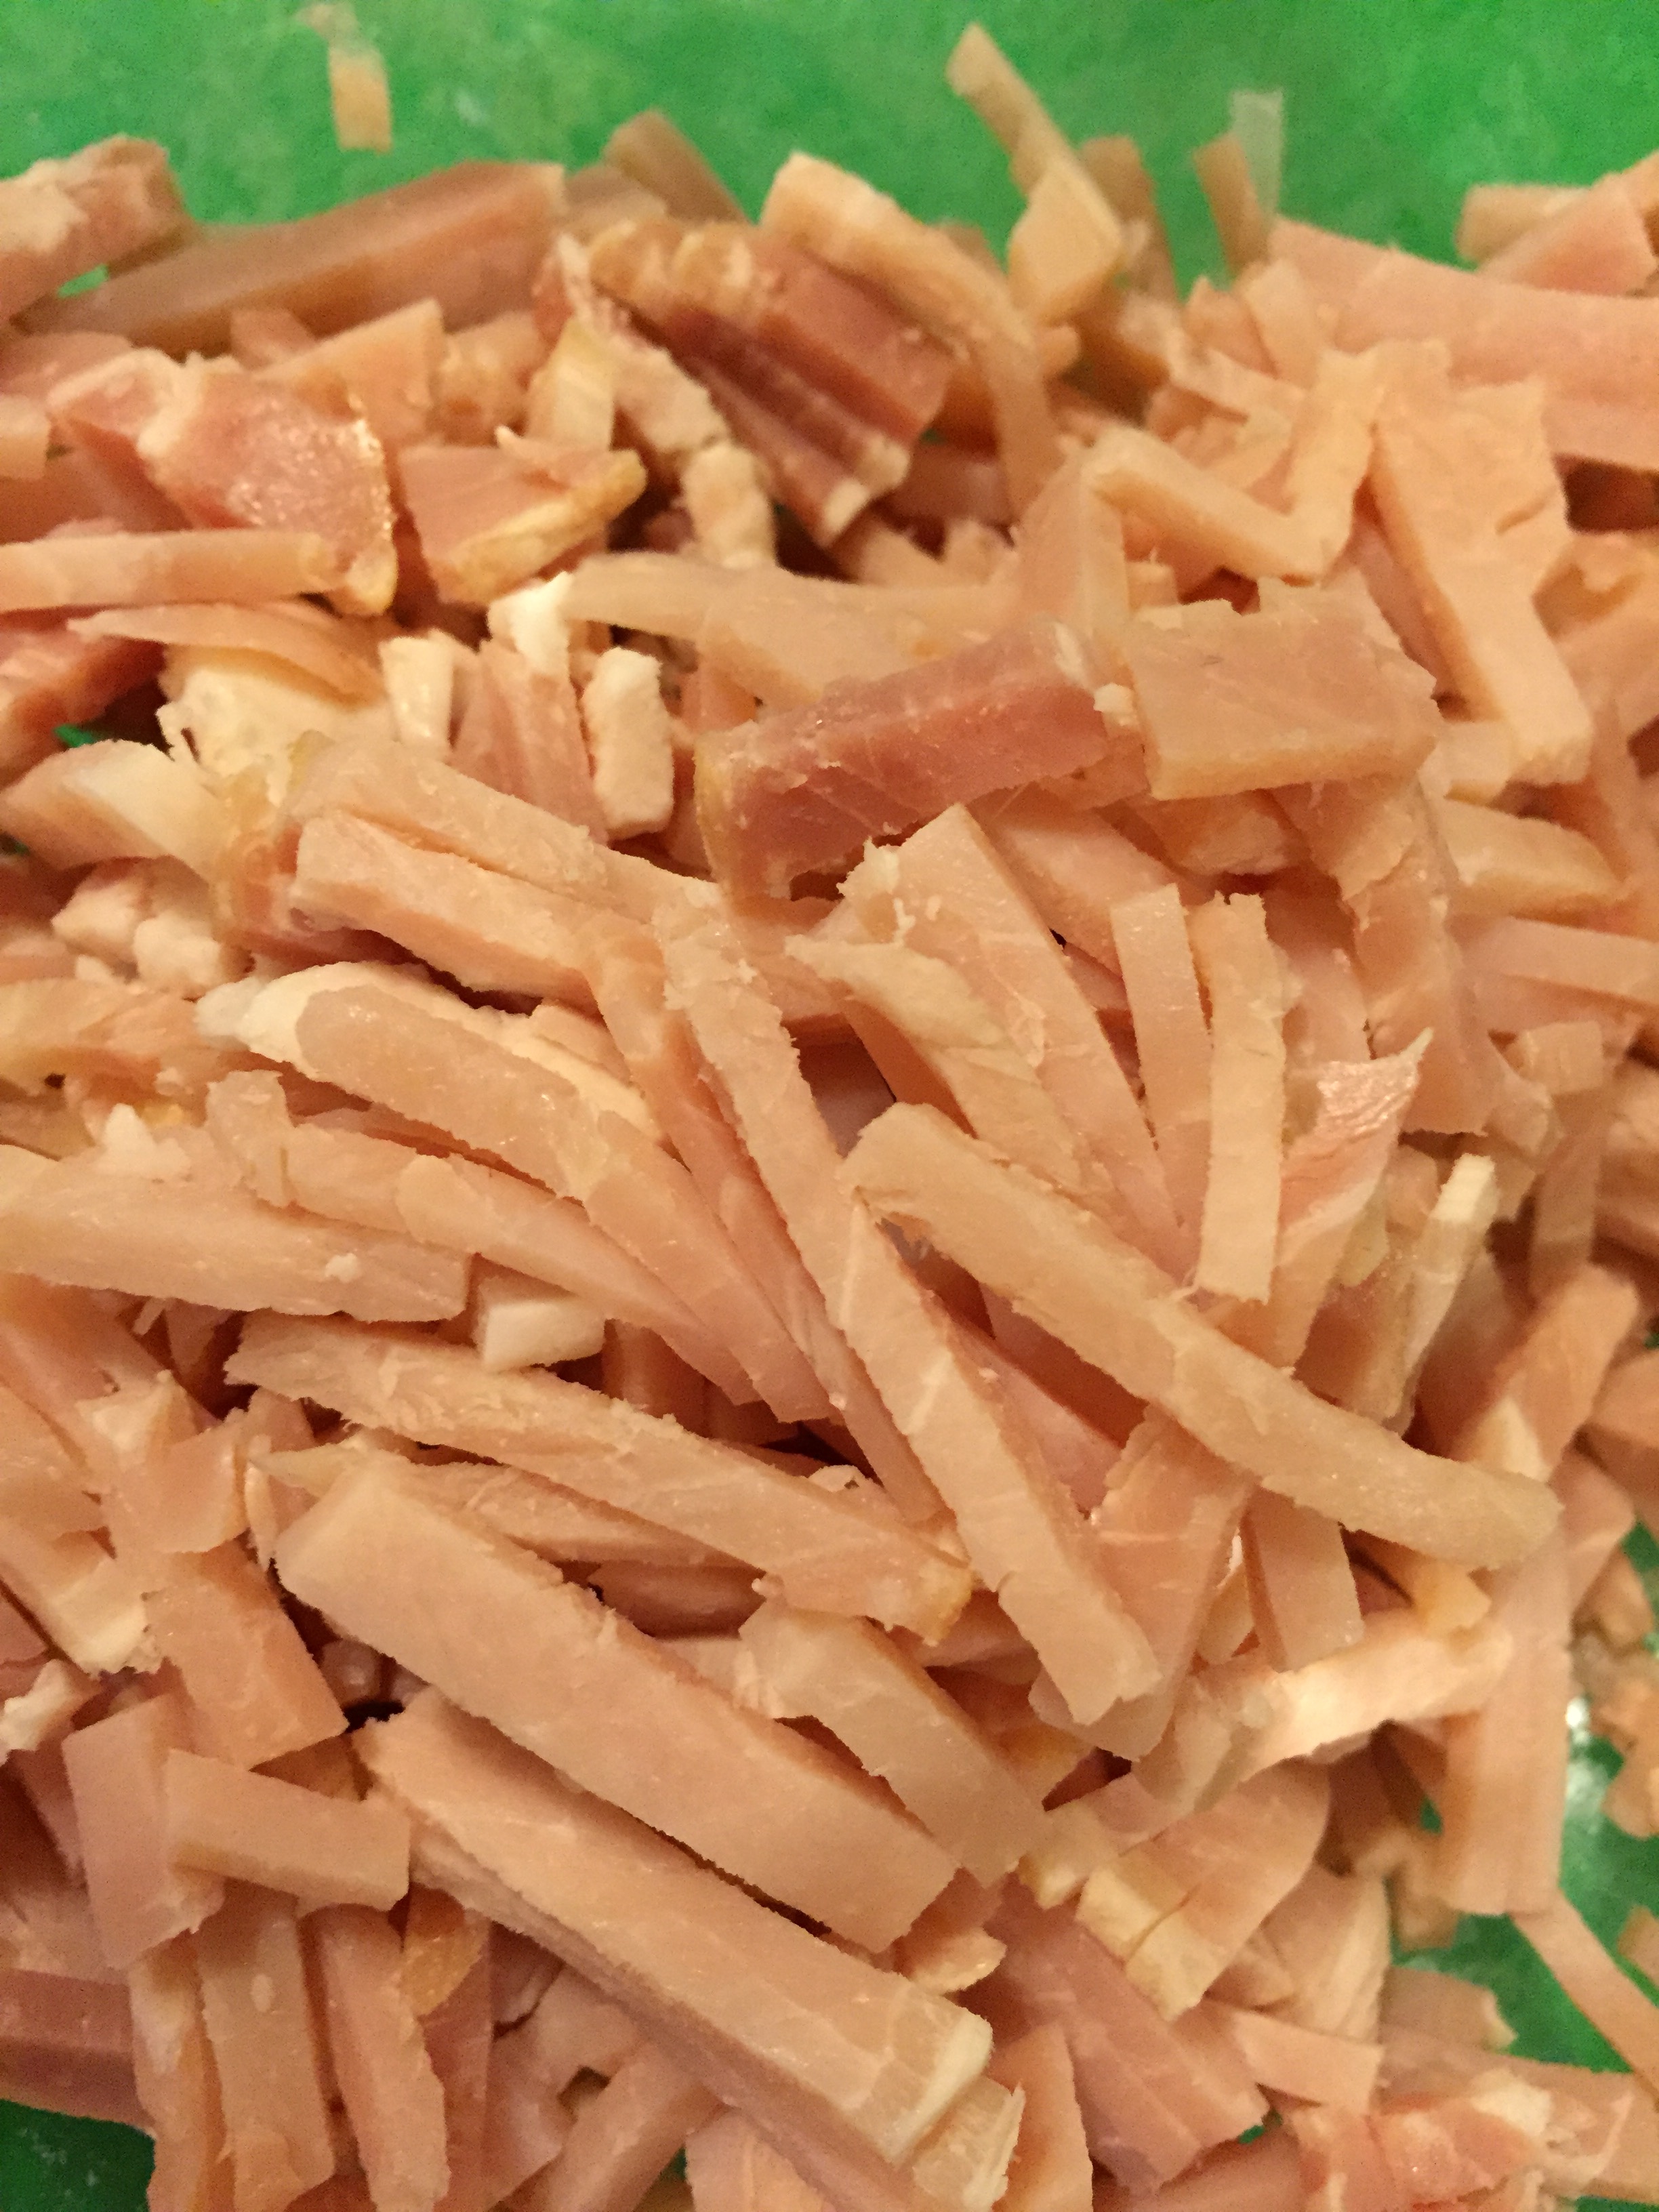
IMG_5122IMG_5123
Step 2:
Pour a generous amount of BBQ sauce onto the bacony goodness.  Poor an almost equally portion of ketchup stuff in too.  Splash in some Wussy sauce, and add a glob of Cream of Horseradish… yeah, sorry about that.  I have absolutely no idea how much of what goes in where, I just make it based on what it looks like.  Taste a dab, if it’s not tangy enough – add more Horseradish; if it’s too tangy – add more BBQ sauce.  And that’s all I have to say about that.
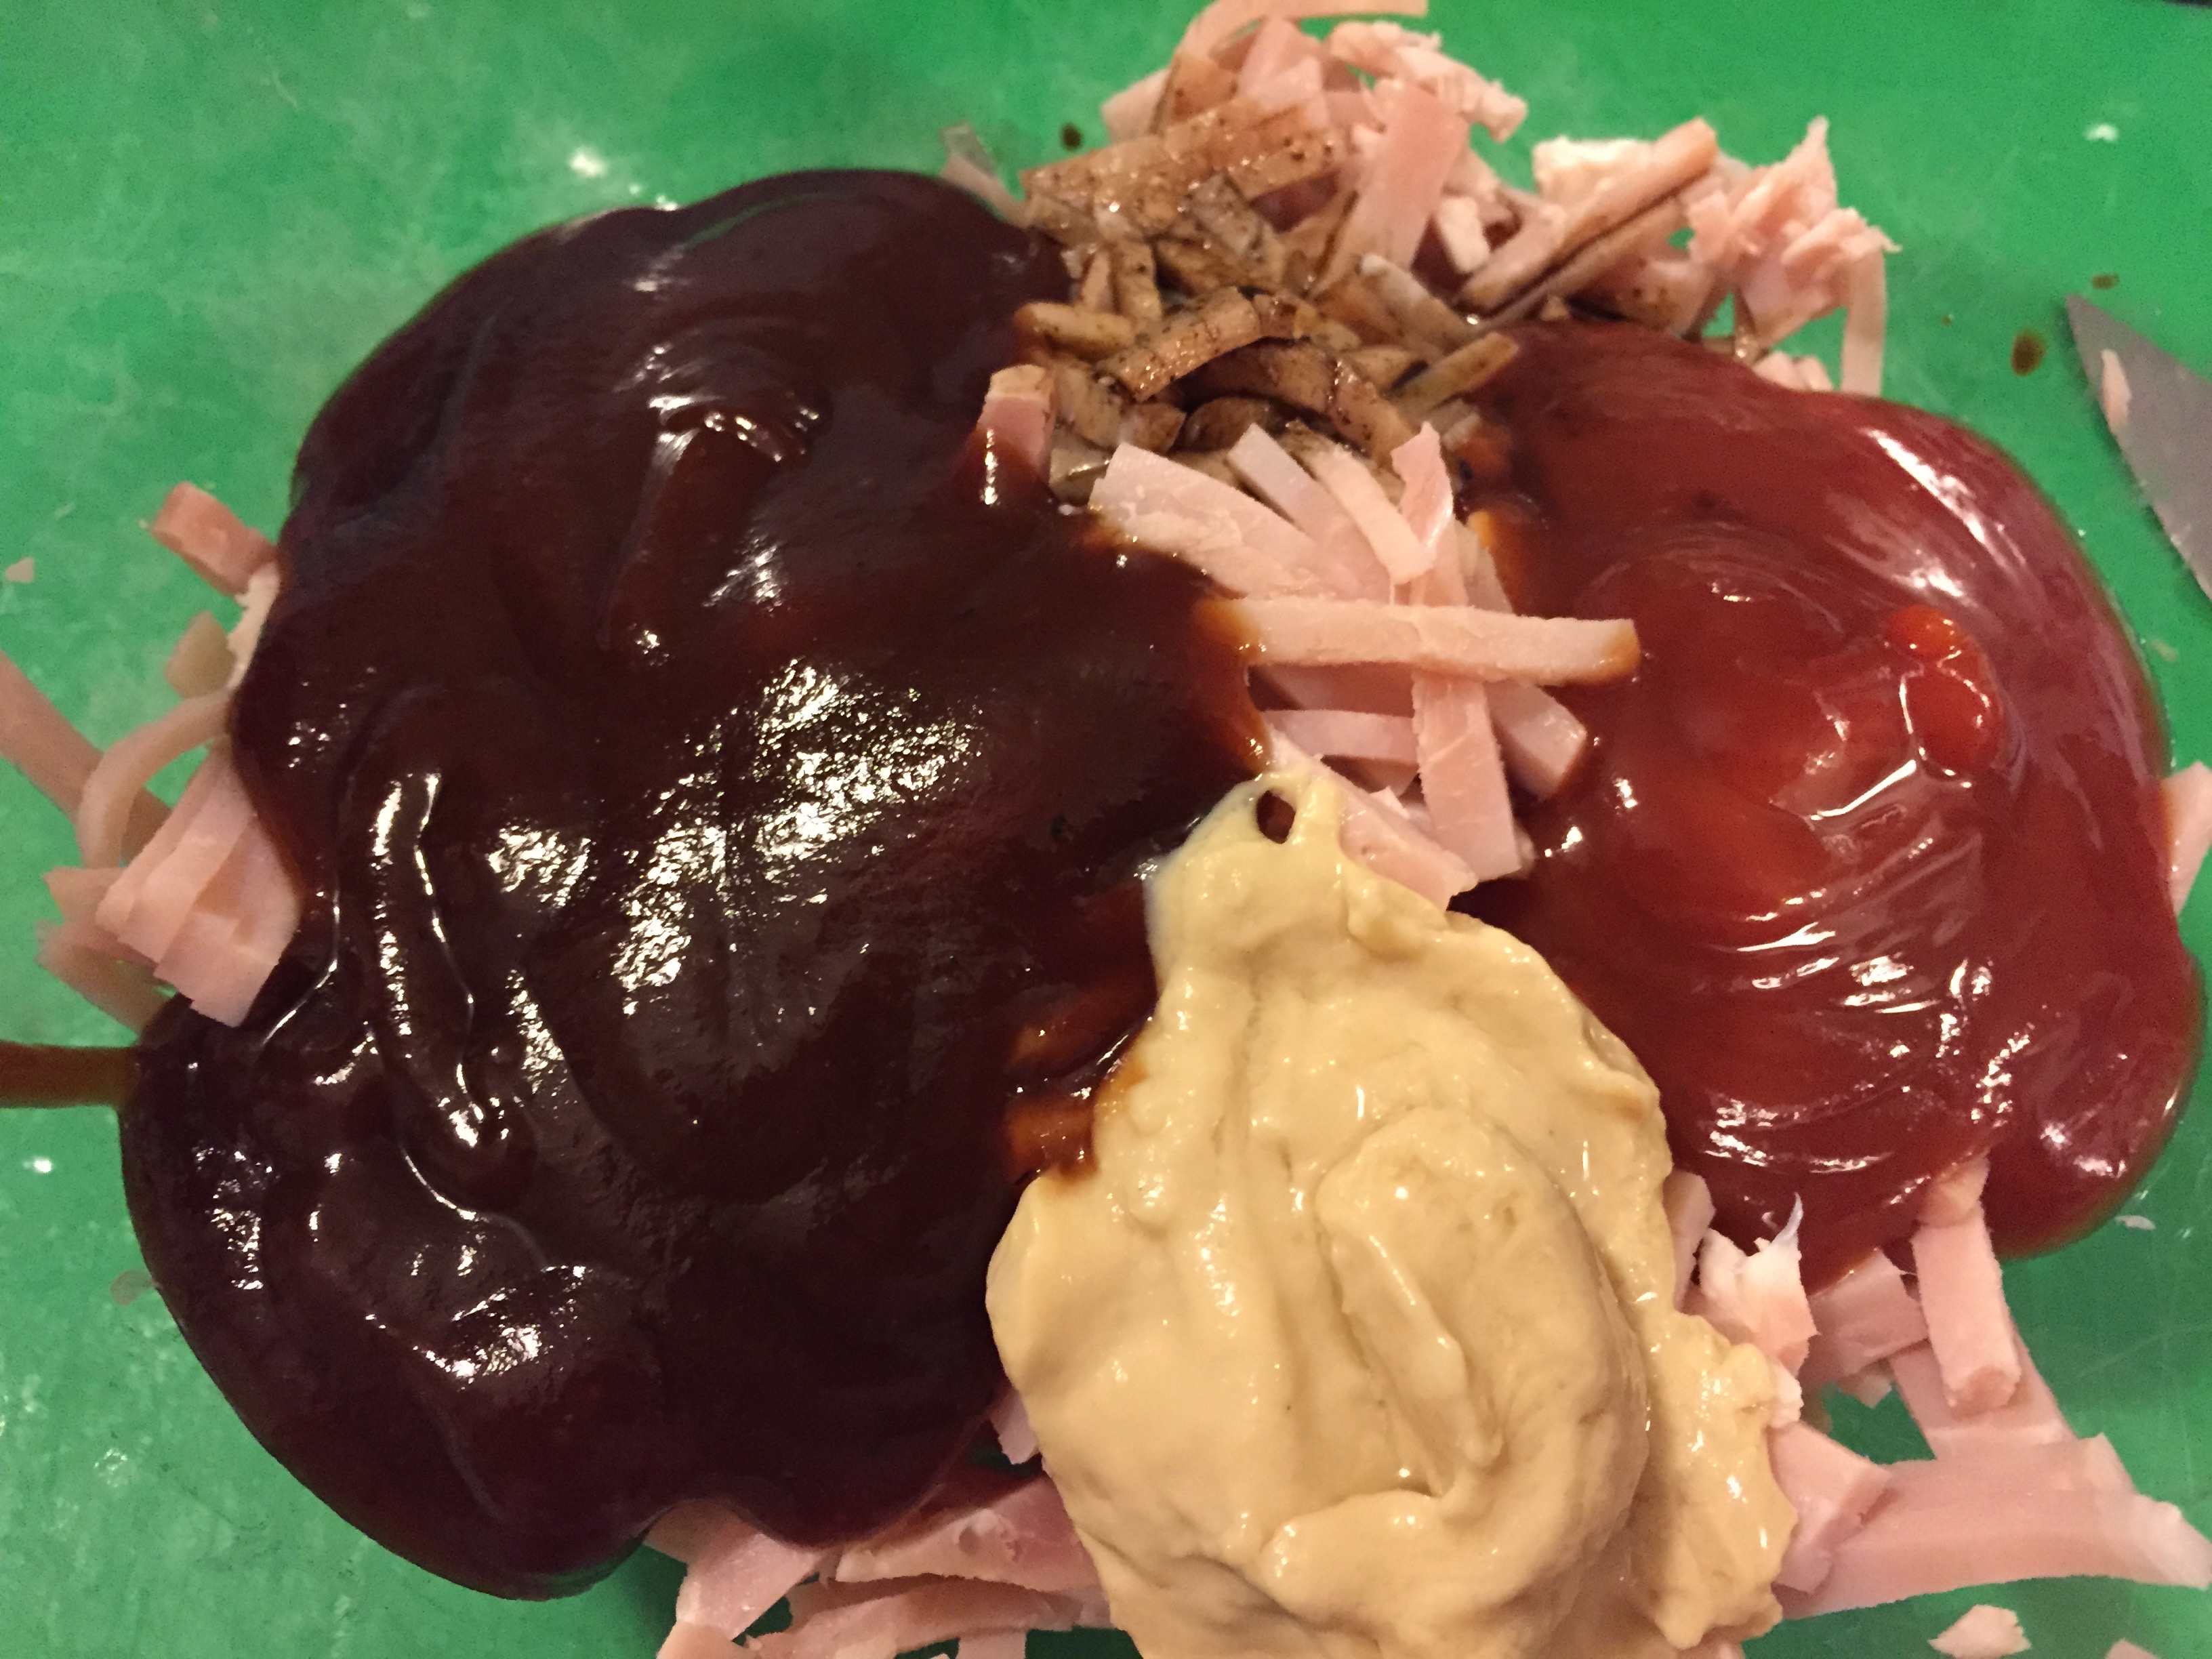
IMG_5127Step 3:
Carefully arrange your gorgeous looking oysters into an oven tray leaning them up against each other so the bacony goodness topping doesn’t run all over the place – seriously, I meant it when I said size matters!  The bigger the better!
IMG_5131IMG_5133

Step 4:
Drop a small dollop of saucy bacon topping onto each oyster – be mindful of the fact that this stuff will spread and your oyster will runneth over, so don’t put too much on each oyster.
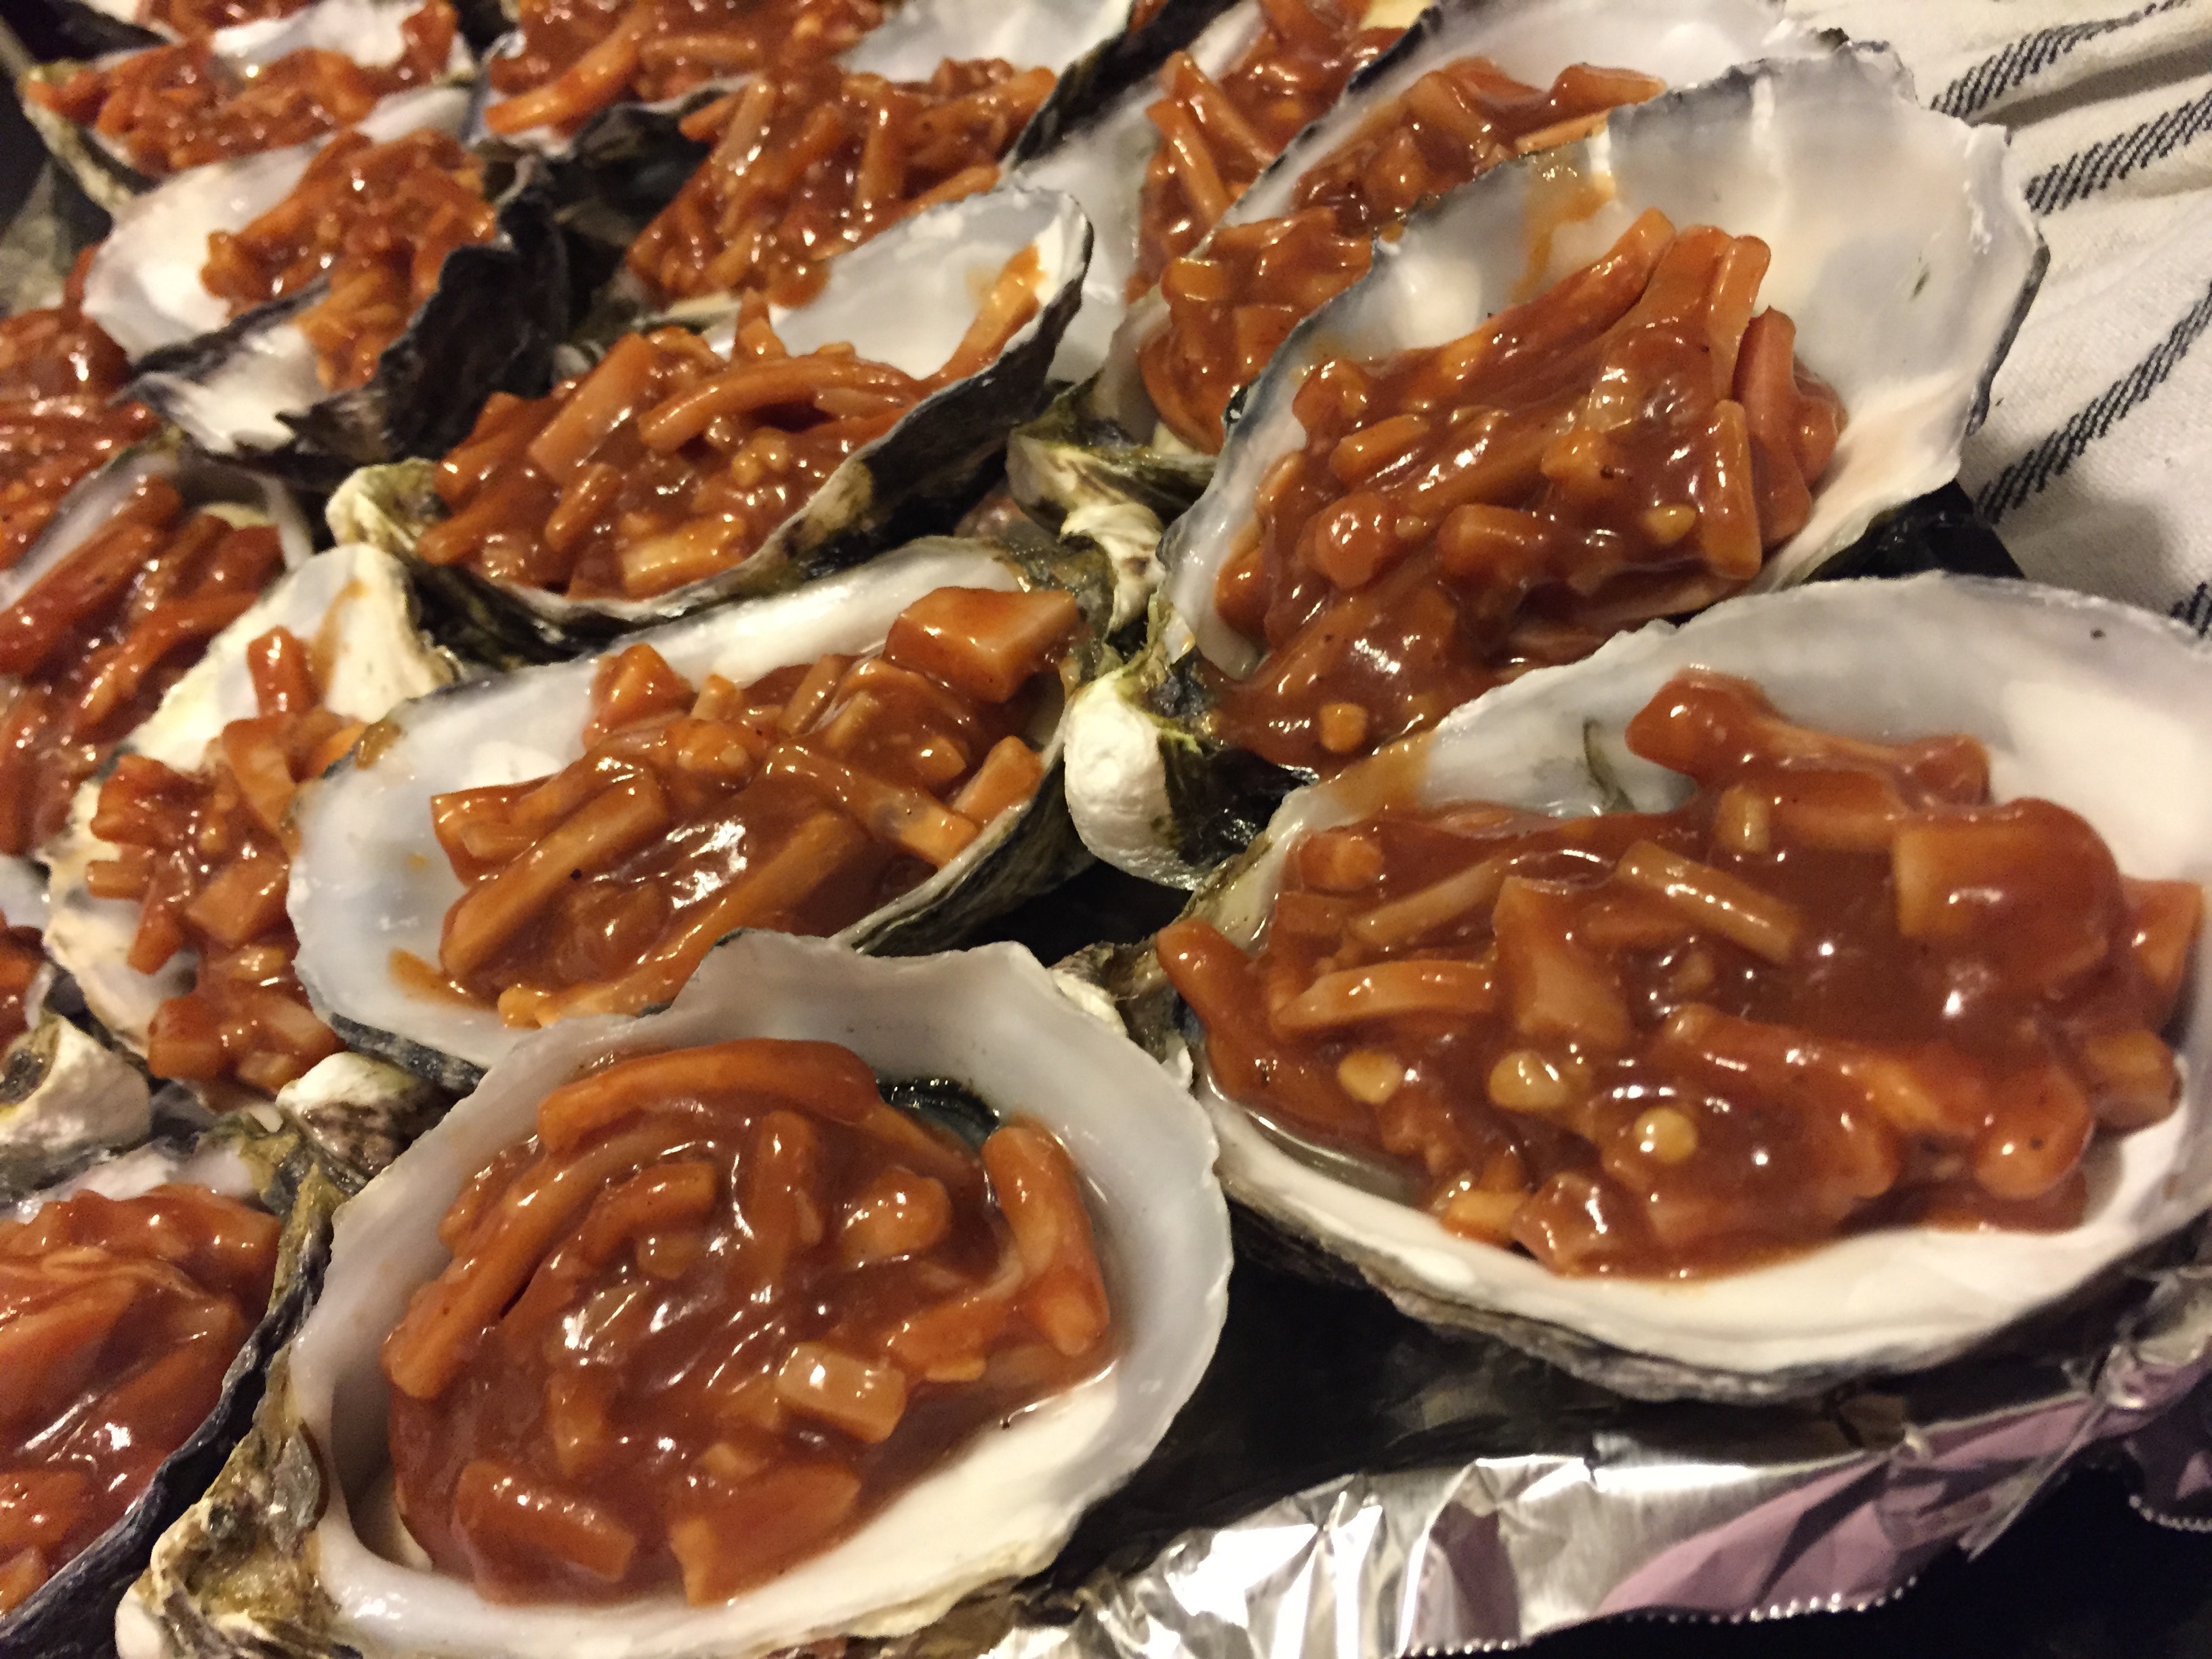
IMG_5136

Step 5:
Chuck the tray in the oven and cook ’em.  Maybe 20 minutes, maybe 25minutes in a moderate oven, depending on how dry you like them – if you like the runny juices in the bottom of your oyster shells… turn it up to 220C and cook them for less time.  If you prefer your oysters to be sitting in something still similar to the consistency of sauce then 180C for a bit longer.  Cook them until the peaks turn ever so slightly charred looking and the sauce looks like Rotorua darling! (ie: like boiling mud!)
IMG_5147

Step 6:
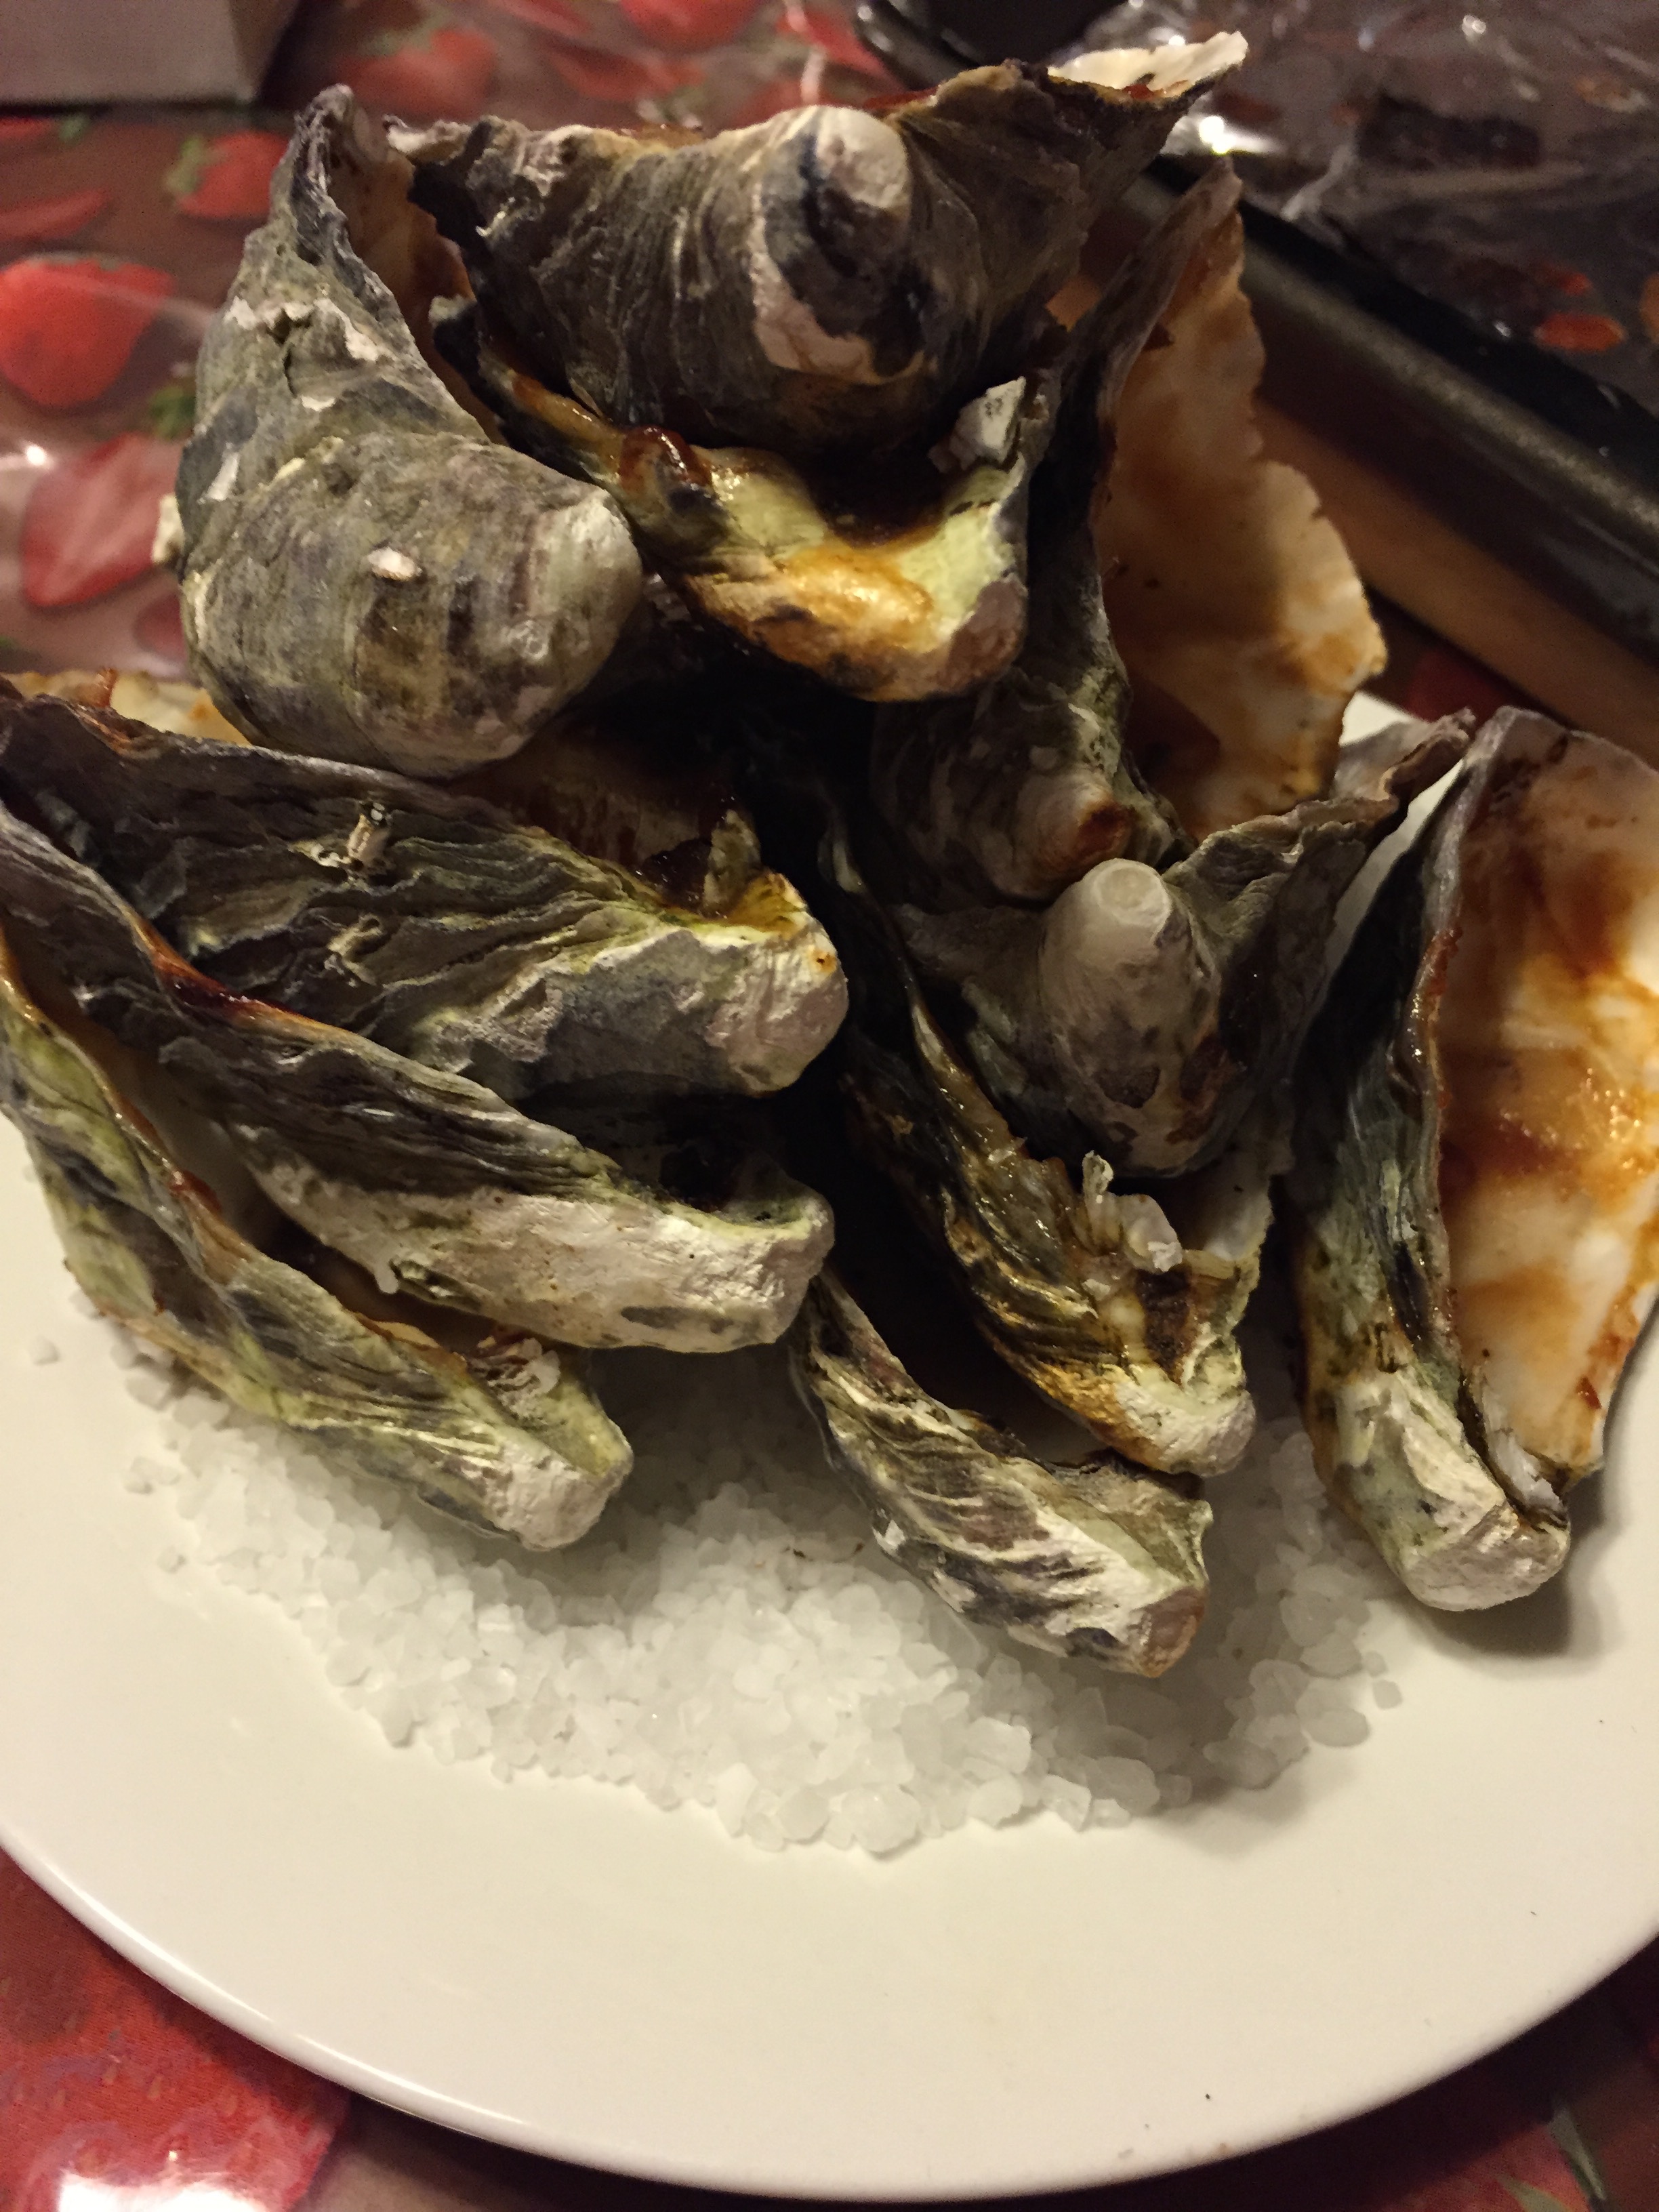
Pull them out, allow them to rest a little (seriously, actually do this – or you’ll burn your damn hand or something when transferring them to a plate or whatever and it’ll allow the sauce to ‘set’ a little), then put them on a bed of fancy rock salt to look all pretty – or failing that, set the whole damn oven tray on the table with some bread and hook in.
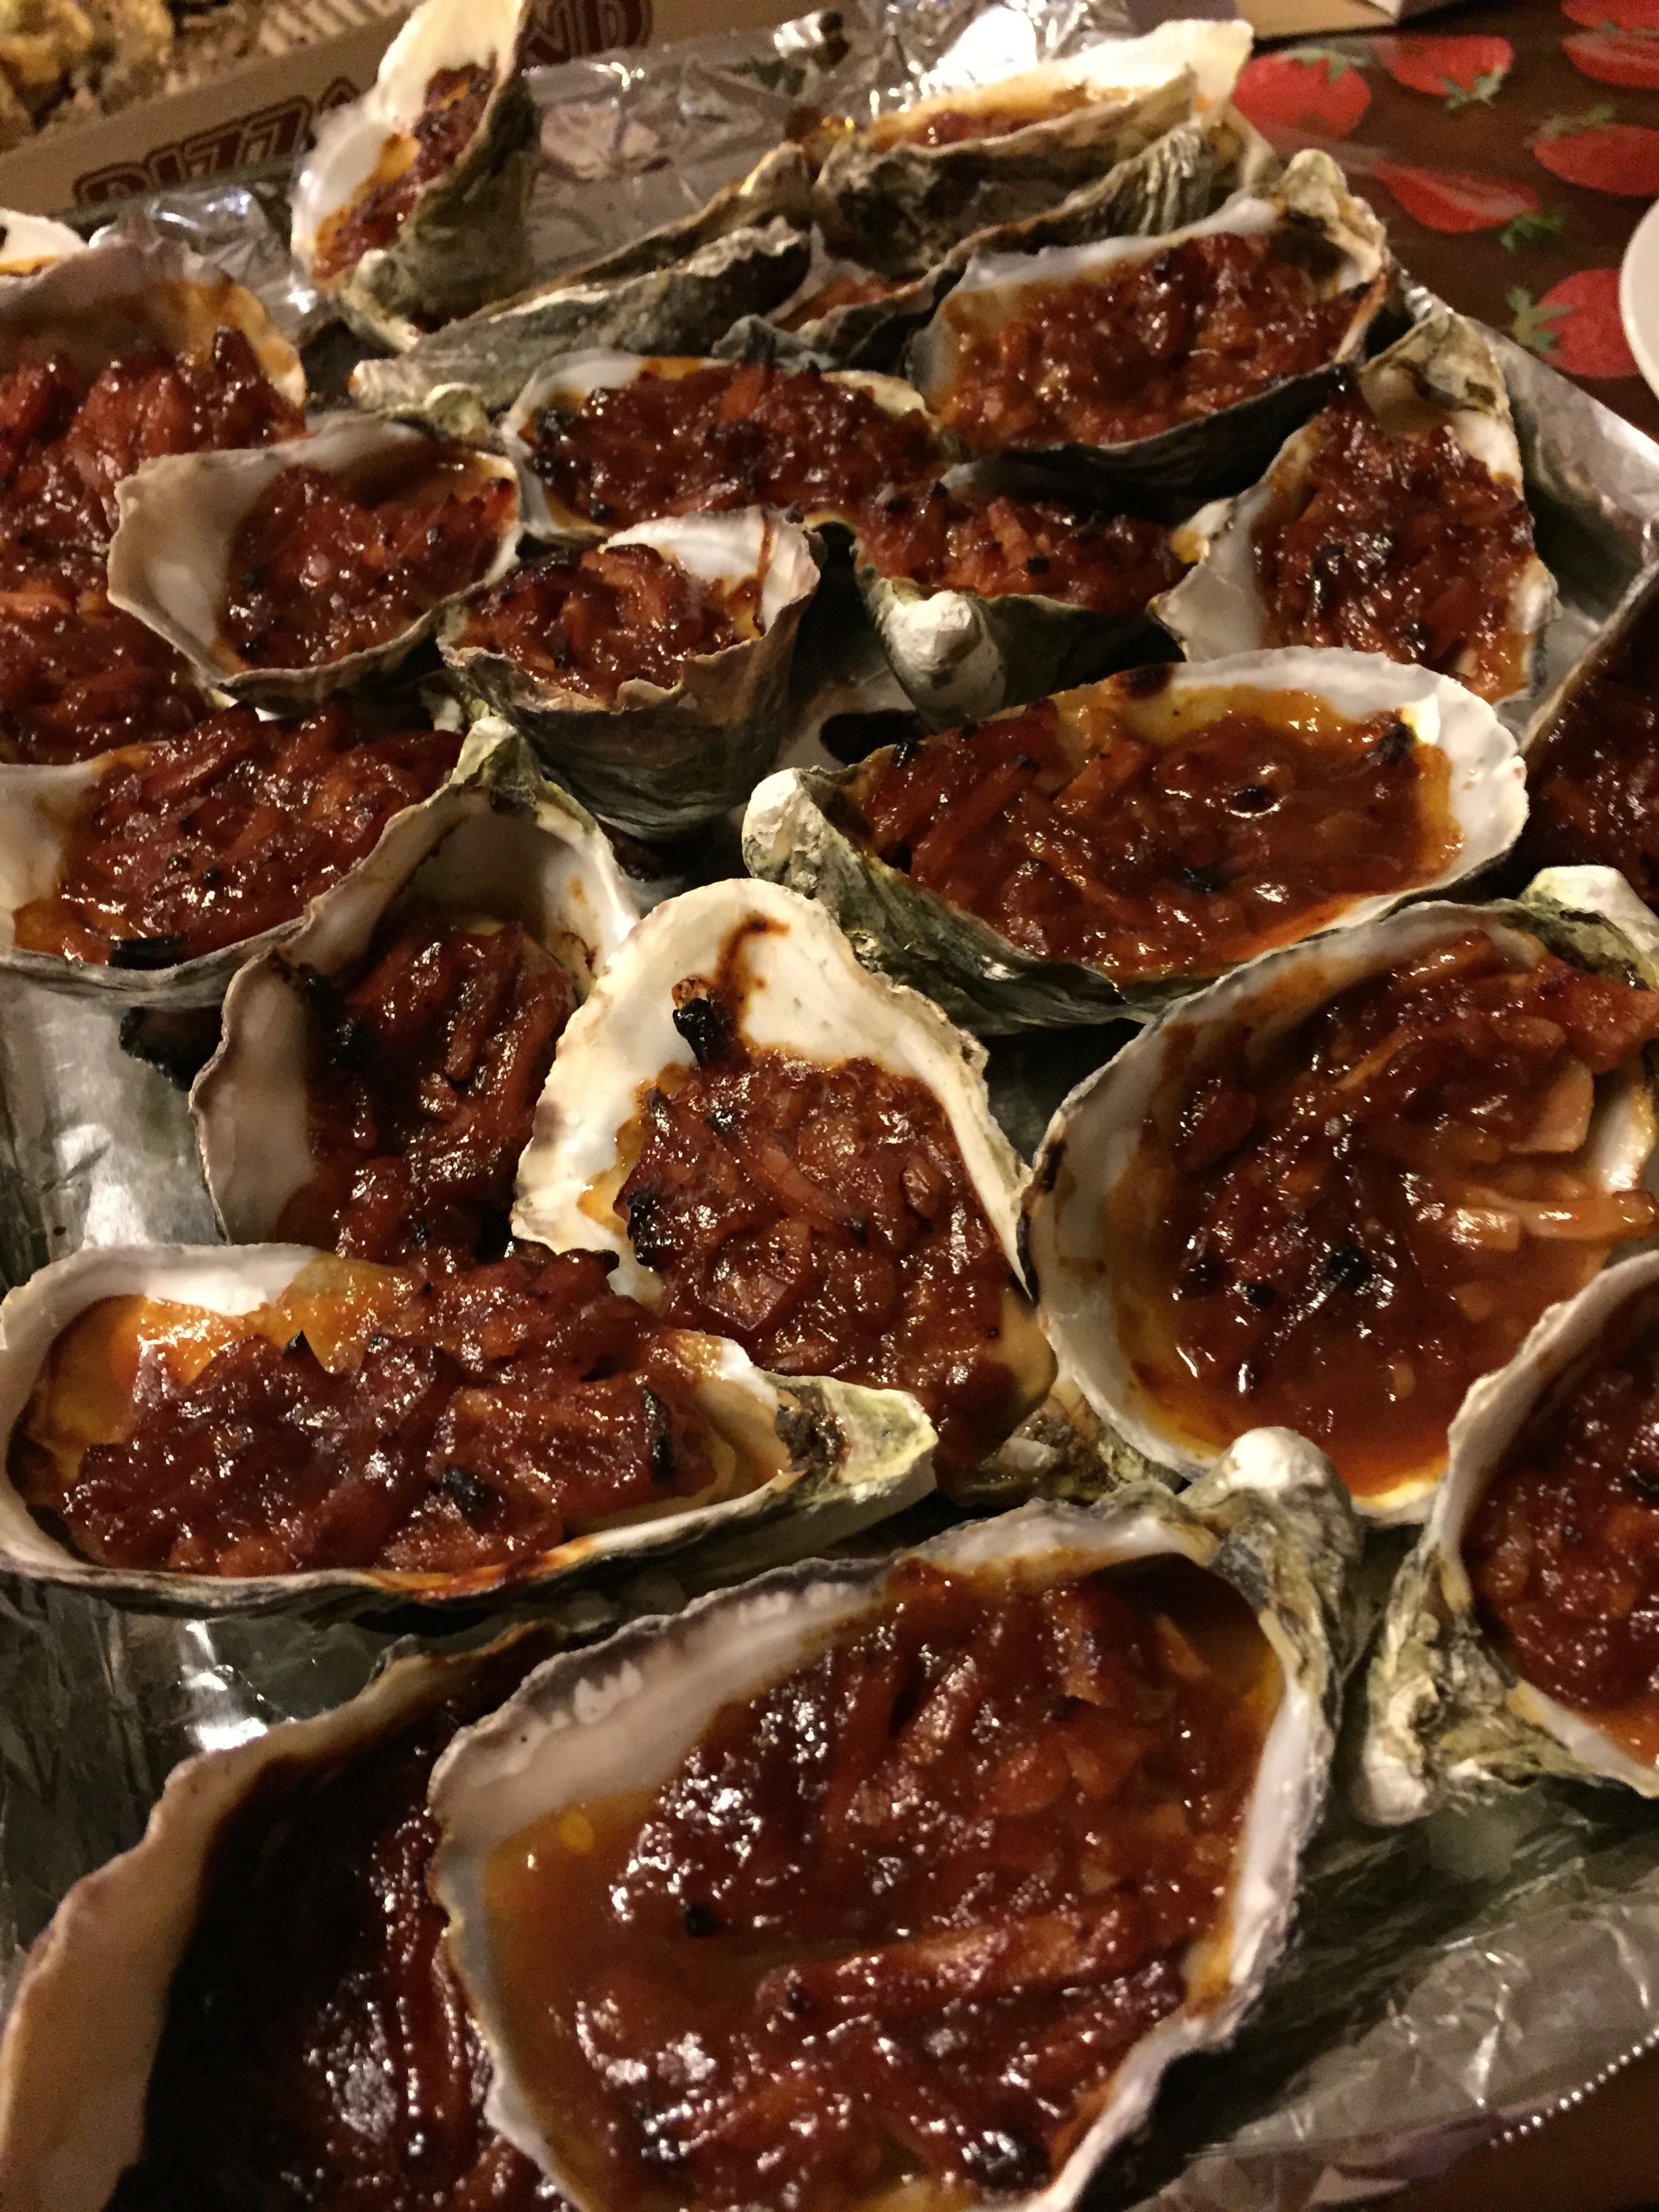
IMG_5149

IMG_5150

Ta-da! All gone!